Welcome to Dong guan Hecon Electronics Co., ltd official website


Blog
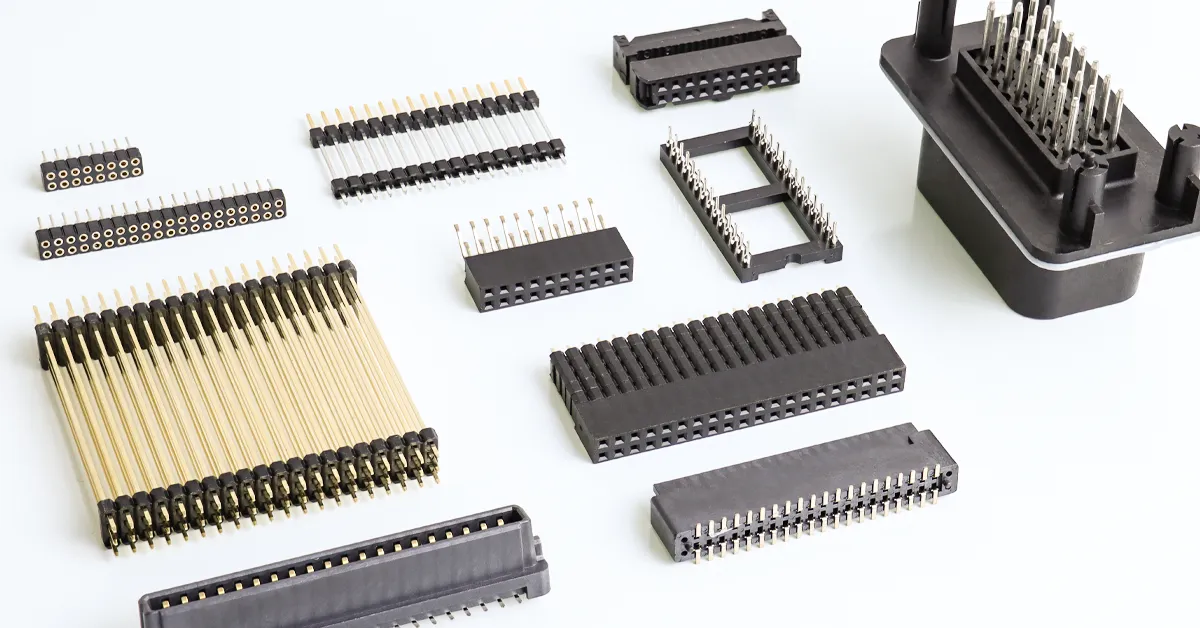
Connectors & Cable Assemblies Manufacturer
Simple Tricks for Perfect Pin Header Male Connectors
Release time:
2025-06-06
Simple Tricks for Perfect Pin Header Male Connectors
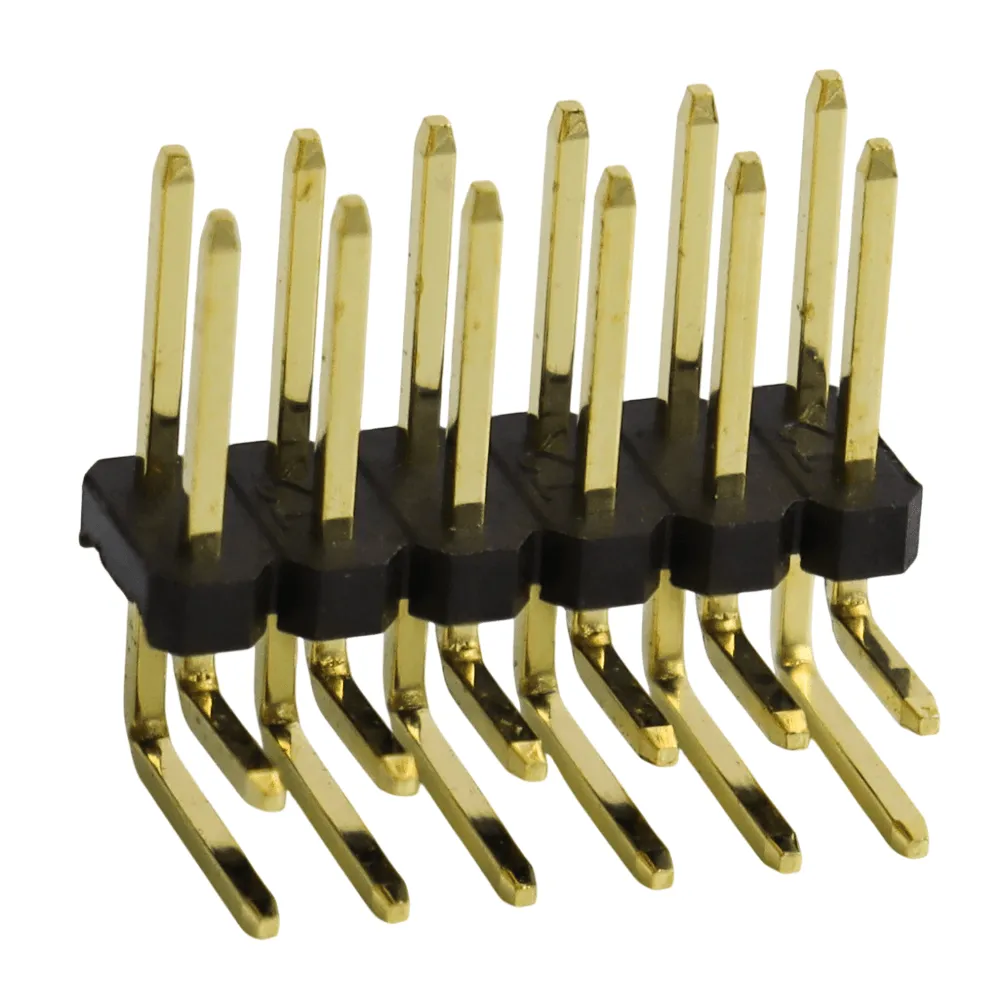
Reliable electronic connections need careful work. Neat soldering and correct setup help circuits work well. Start by cleaning your workspace. Messy areas can cause problems. Good tools are very important, too. A clean soldering iron and new solder make work easier and better. When using pin header male connectors, focus on details. Simple tasks like cleaning parts and arranging tools save time and avoid errors later.
Key Takeaways
Keep your workspace neat and clean. A tidy space avoids errors and saves time while soldering.
Use good tools and materials. A quality soldering iron and solder make stronger, reliable connections.
Line up pin headers properly before soldering. Correct alignment stops signal problems and protects the circuit board.
Add flux to help solder flow better. Flux makes strong joints and lowers the chance of short circuits.
Practice soldering on old boards. Practicing often improves your skills and makes you more confident.
Tools and Materials for Pin Header Male Connectors
Essential Tools for Soldering
The right tools make soldering simpler and better. Start with a good soldering iron. Pick one that lets you adjust the heat for your project. A soldering station with a holder keeps your area neat and safe. Use small tweezers to handle tiny parts like pin header male connectors. A desoldering pump or wick helps fix mistakes by removing extra solder.
Have a magnifying glass or digital microscope ready. These tools help you check solder joints closely. A multimeter is also important. It tests connections to make sure they work properly.
Recommended Materials for Installation
Good materials improve how well your pin header male connectors work. Use high-quality solder with rosin core for cleaner joints. Stay away from lead-based solder for safety and to follow rules. Flux is very helpful. It cleans oxidation and helps solder flow better, making stronger connections.
Choose connectors with gold or silver plating for better signal flow and less loss. For precise projects, use connectors with locating pins. These pins make soldering easier and improve alignment. Make sure the connector’s mating height is taller than nearby soldered parts. This avoids problems during installation.
Here’s a quick guide for picking the right materials:
| Feature | Description |
|---|---|
| Loading Voltage | Keep voltage under 50% of the connector's limit. |
| Installation Size | Expose soldering feet by more than 0.5mm on the PCB. |
| Connector Precision | Locating pins make manual soldering easier. |
| Material Check | Avoid lead-based materials for safety. |
| Connector Type | Gold or silver plating stops signal issues in low-pressure connections. |
| Mating Height | Mating height should be taller than nearby soldered parts. |
Using the right tools and materials helps you make strong, clean connections with pin header male connectors.
Getting Ready to Solder Pin Header Male Connectors
Organizing Your Workspace
A tidy workspace helps with good soldering. Use a clean, flat table with enough space for tools. Keep your soldering iron, flux, and solder nearby. This setup saves time and avoids mistakes.
Good lighting is very important. Use a bright lamp or sunlight to see clearly. A soldering station holds your soldering iron safely and prevents accidents. Knowing how long tasks take can help you arrange tools better.
Cleaning the PCB and Pin Headers
Clean the PCB and pin headers before soldering. Dirt or rust can weaken connections. Wipe the PCB with alcohol and a lint-free cloth. Use a small brush or sandpaper to clean the pin headers.
A clean surface helps solder flow better and makes strong joints. Cleaning also stops solder bridges that cause short circuits. Take your time to avoid problems later.
Placing the Pin Headers on the PCB
Put the pin headers in the right spot for a good connection. Line up the pins with the PCB holes. Make sure the pins sit flat on the board. Misaligned pins can cause bad connections.
Use tape or a helping hand tool to hold the pin headers steady. This keeps them from moving while you solder. Spread heat evenly to avoid damaging the PCB or parts.
By following these steps, you can set up your workspace and parts for easy soldering. These small steps improve your work with pin header male connectors.
Soldering Tips for Pin Header Male Connectors
Picking the Right Soldering Iron Temperature
The heat of your soldering iron is very important. Using the wrong heat can make weak joints or harm parts.
Follow these tips to pick the right temperature:
Lead-based solder melts best between 350°C and 370°C.
Lead-free solder needs more heat, around 370°C to 400°C.
Match the heat to the solder type you’re using. Lead-based solder melts at lower heat than lead-free solder.
If unsure, start with low heat and slowly raise it. Stop increasing once the solder melts smoothly. Too much heat can ruin the PCB or pin header male connectors.
Tip: Use a soldering station with adjustable heat settings. This helps you control the temperature better for good results.
Using Flux for Better Solder Joints
Flux is key for making strong and clean solder joints. It removes rust, helps solder spread, and makes better connections. Without flux, solder alone won’t stick well.
There are different types of flux, like rosin, organic, and inorganic. Each type works differently. Many people now use No-Clean Flux because it leaves little mess and saves cleaning time.
Why flux is helpful:
Cleans and protects surfaces during soldering.
Helps solder spread evenly for strong joints.
Leaves safe residue that won’t cause damage later.
For pin header male connectors, flux makes cleaner joints and lowers the chance of short circuits.
Note: Pick a flux that works with your solder and project.
Easy Steps for Soldering
Following clear steps makes soldering easier and better. Use these steps to solder pin header male connectors:
Get Ready: Clean the PCB and pin headers to remove dirt. Hold the pin headers in place with tape or a tool.
Add Flux: Brush flux onto the soldering spots. This helps solder flow and stops rust.
Heat the Iron: Set the heat based on your solder type. Make sure the tip is clean for better heat transfer.
Solder the Pins: Touch the iron to the pin and PCB pad. Add solder until it forms a shiny joint. Don’t use too much solder to avoid bridges.
Check Your Work: Look at the joints with a magnifying glass. Make sure they are smooth and free of gaps or extra solder.
Here’s a table comparing solder alloys and their performance:
| Solder Alloy | How It Works | Reliability Level |
|---|---|---|
| SnPb | Works great in PBGA1156 | More reliable than SAC305 |
| Innolot | Very reliable in CABGA208 | Better than other alloys |
| FR-406 | Beats Megtron6 in tests | Best among tested alloys |
By following these steps, you can make strong and neat solder joints for pin header male connectors.
Aligning and Installing Pin Header Male Connectors
Ensuring Proper Alignment of Pin Headers
Getting pin headers aligned correctly is very important. If they are not aligned, signals may fail, or the board could get damaged. First, check how the connector should fit. Look at the pin count, spacing, and size to match the PCB.
Use tools like guides or special features to help align them. These tools make it easier to position headers before soldering. For tough projects, choose headers with strong pins or durable covers. Always check that the pins sit flat on the PCB and fit the holes properly.
Here’s a simple table for helpful tips:
| Best Practice | Description |
|---|---|
| Dimensional Matching | Match pin count, spacing, and size with the PCB. |
| Connector Integration | Use headers for easy-to-remove wiring connections. |
| Ruggedized Housing | Pick strong materials for tough environments. |
| Reliability and Safety | Focus on these for better performance and safety. |
| Testing and Planning | Plan and test carefully for better designs. |
By following these tips, you can avoid alignment problems and make better connections.
Securing Pin Headers During Soldering
Keeping pin headers steady while soldering is very important. If they move, the joints can become weak or misaligned. Use tools like tape, clamps, or helping hands to hold them still. These tools stop the headers from shifting while you work.
Press the header lightly so it sits flat on the PCB. Don’t press too hard, or you might bend the pins or damage the board. Start by soldering one pin at each end of the header. This keeps it in place. Then solder the rest of the pins one by one.
After soldering, check the joints to make sure they are smooth and solid. Use a magnifying glass to spot any problems. Secured headers make your project stronger and more reliable.
Tip: For big or tricky PCBs, solder one part at a time to keep everything aligned and avoid mistakes.
Avoiding Common Mistakes with Pin Header Male Connectors
Overheating the Soldering Iron
Too much heat can ruin parts while soldering. If the soldering iron is too hot, it can damage delicate parts like IC chips and diodes. Heat spreads through the pins and harms nearby components. This can cause weak solder joints that don’t work well. Circuit boards are especially at risk. Long exposure to heat can weaken their material and make them less reliable.
To stop overheating, follow the "6-second rule." Only let the soldering iron touch a part for six seconds or less. If you need to solder again, let the area cool first. Heating the same spot too often can cause damage, especially in tough jobs like car or factory electronics.
Tip: Use a soldering station with adjustable heat to avoid overheating.
Using Too Much or Too Little Solder
The amount of solder you use matters a lot. Using too much solder can connect pins by accident, causing short circuits. Using too little solder makes weak joints that might break or fail to carry electricity.
To get it right, add solder until it makes a shiny joint. The joint should fully cover the pin and PCB pad. Don’t pile on too much solder. If you’re unsure, practice on an old PCB to improve your skills.
Note: A magnifying glass or digital microscope can help you check your solder joints for smoothness and proper coverage.
Misaligned Pin Headers
Misaligned pin headers can cause big problems. If the pins don’t line up with the PCB holes, signals might not work, or the board could get stressed. Misaligned headers can also harm the board during setup or use.
Start with careful planning to avoid this. Check the pin count, spacing, and size to match the PCB. Use tools like clamps or guides to keep the headers steady while soldering. For stronger projects, pick headers with tough covers or locating pins to make alignment easier.
Misalignment can lead to serious issues. For example, in wind turbines, assembly mistakes caused cracks and early failures. In pumps, flexible pipes used to fix misalignment led to breakdowns. These examples show why precision is so important.
Tip: Solder one pin at each end of the header first. Then solder the rest one by one to keep everything aligned.
Maintenance and Final Checks for Pin Header Male Connectors
Checking Solder Joints for Quality
Checking solder joints makes sure connections are strong and reliable. Bad joints can cause weak signals or circuit failure. Start by looking at each joint closely. Good joints are smooth and shiny without cracks or gaps. Dull or uneven joints may have problems.
For better checking, use an automatic optical inspection (AOI) system. AOI uses cameras and smart tools to find defects quickly. It spots issues like cold joints or too much solder better than manual checks. Some AOI systems even use advanced learning to classify problems, making them great for tricky PCBs.
Tip: If you don’t have AOI, use a magnifying glass or digital microscope to find flaws.
Testing Connections for Strength
Testing makes sure pin header male connectors work well. Follow these steps to check reliability:
Easy Access: Ensure connectors are simple to reach for testing later.
Good Contact: Make sure all pins touch properly. Dirt or misalignment can cause problems.
Signal Check: Test fast signals to ensure they stay clear during use.
Durability: Check if connectors handle plugging and unplugging many times.
Environment Test: Simulate heat, moisture, or shaking to check performance.
Compatibility: Confirm connectors fit your PCB and other parts well.
These tests help find problems early before they get worse.
Tips for Keeping Connectors in Good Shape
Taking care of connectors helps them last longer. Clean them often to remove dust and dirt. Use a soft brush or air to avoid harming the pins.
Store devices in dry, cool places. Wet or hot areas can rust connectors or weaken solder joints. Fix loose connections by re-soldering them quickly to stop further damage.
Note: Regular testing keeps connectors working well. Check them every few months, especially in tough conditions.
By following these tips, you can keep your pin header male connectors working great for a long time.
Getting good at using pin header male connectors starts with being prepared. Keep your workspace clean and use good tools and materials. Make sure the headers are lined up right, use flux to help solder flow, and avoid mistakes like overheating or adding too much solder.
Tip: Practice often on old PCBs to get better at soldering. Each try helps you learn and improve your skills.
With practice, you’ll make strong connections for your electronics. Keep learning and practicing to get great results every time.
FAQ
1. How should you clean pin headers before soldering?
Wipe pin headers with rubbing alcohol and a lint-free cloth. For tough dirt or rust, use fine sandpaper or a small brush. Cleaning helps solder stick better and makes stronger connections.
2. How can you stop solder bridges between pins?
Use a small amount of solder and a fine-tip iron. Flux helps solder flow exactly where it’s needed. If a bridge happens, remove extra solder with a pump or wick.
3. Can old pin headers from PCBs be reused?
Yes, but clean them well and check for damage first. Bent or rusty pins might not work properly. Reusing is fine for testing but not for important projects.
4. What heat is best for lead-free solder?
Set the iron between 370°C and 400°C for lead-free solder. Start low and raise the heat slowly if needed. Don’t overheat to avoid damaging parts.
5. Why do you need flux when soldering?
Flux cleans rust and helps solder spread evenly. It makes stronger joints and lowers the chance of short circuits. No-clean flux is popular because it leaves little mess.


Service Hot Line
Mobile:+86-180-0286-9136
E-mail:sales@dghecon.com
Website:www.dghecon.com
Address: Third Floor, NO.14, Dongzheng 2nd Street, Shuikou Village, Dalang Town, Dongguan City, Guangdong Province, China